 Clouisle
Notification Channel Configuration
Establish stable notification outlets in the order of selecting a channel, filling in parameters, testing sending, and launching governance.
Feature Overview
Notification channel configuration determines where notifications in the platform are sent from. If notification rules have already been defined, but channels are not configured or are unstable, end users still will not receive any reminders.
Use Cases
Suitable for the following needs:
- Connecting email, Webhook, or enterprise IM notifications for the first time
- Sending platform events to operations teams, approvers, or business groups
- Troubleshooting why notifications were not delivered successfully
Prerequisites
Before you begin, we recommend preparing:
- The account, SMTP information, Webhook URL, or Bot Token required by the channel
- A test recipient, such as a test email address or test group
- A test event that can be triggered repeatedly
Steps
Step 1: Enter site settings and confirm the notification entry
First enter the Site Settings page in the Admin Console and confirm whether the platform notification and email configuration entries are visible.
Platform-level notification capabilities are usually placed here centrally.
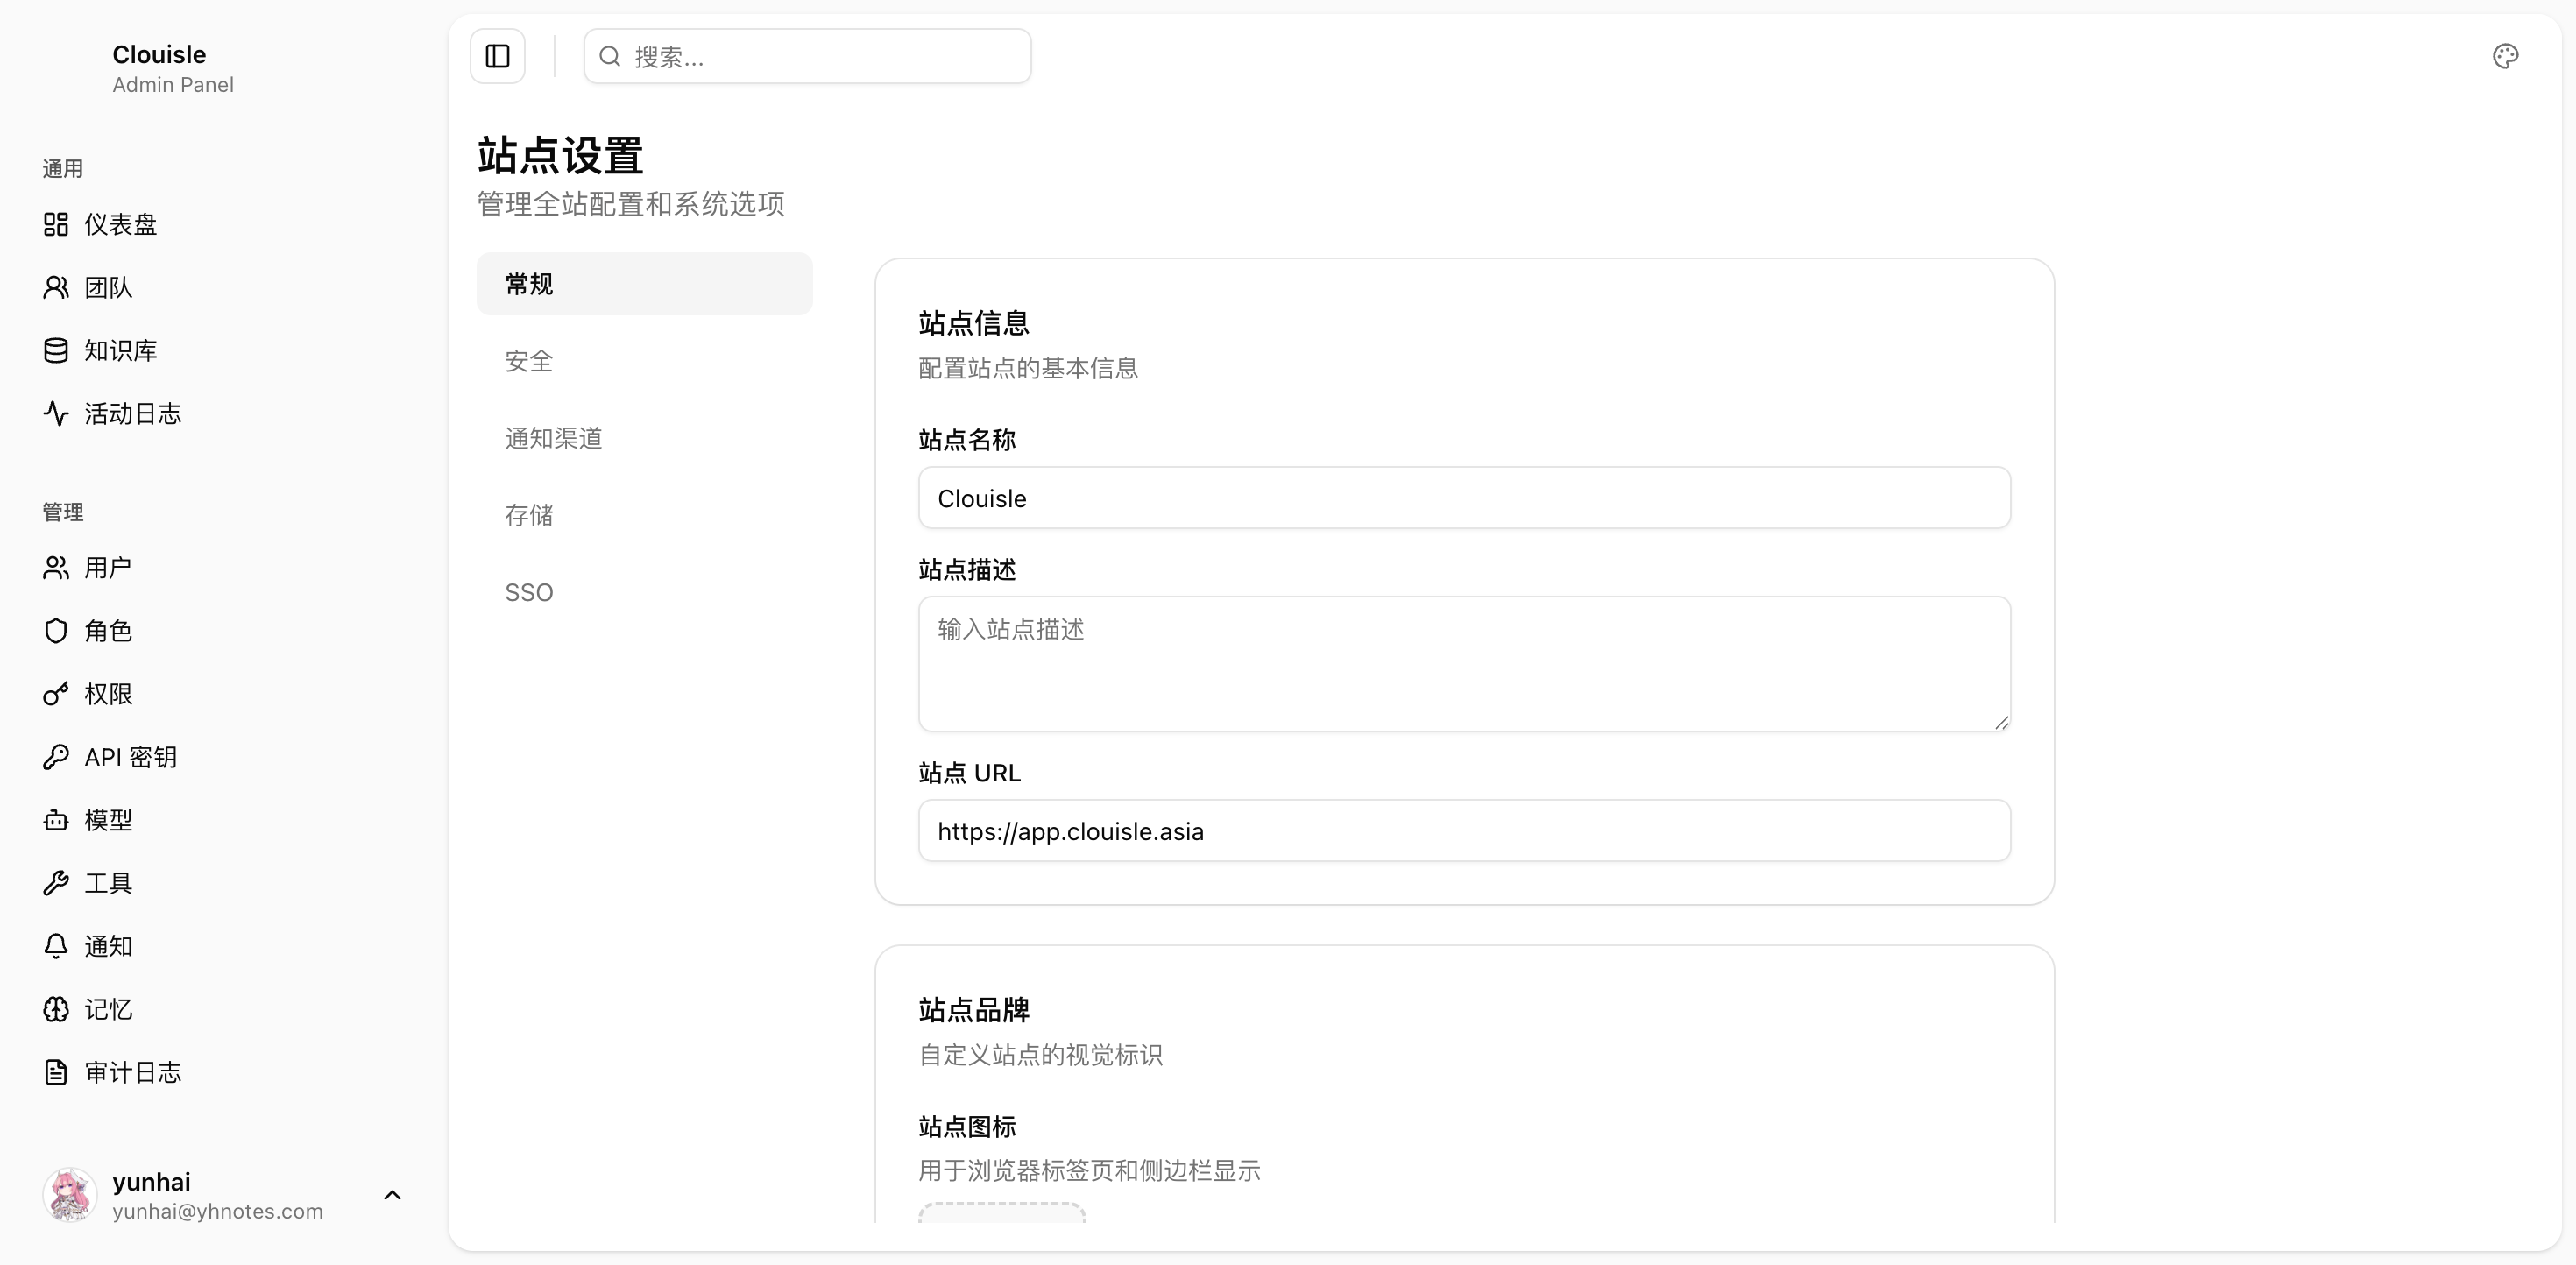
The focus of this step is to first determine that notifications are global configuration, rather than something each team maintains separately and casually.
Step 2: Choose one primary channel first
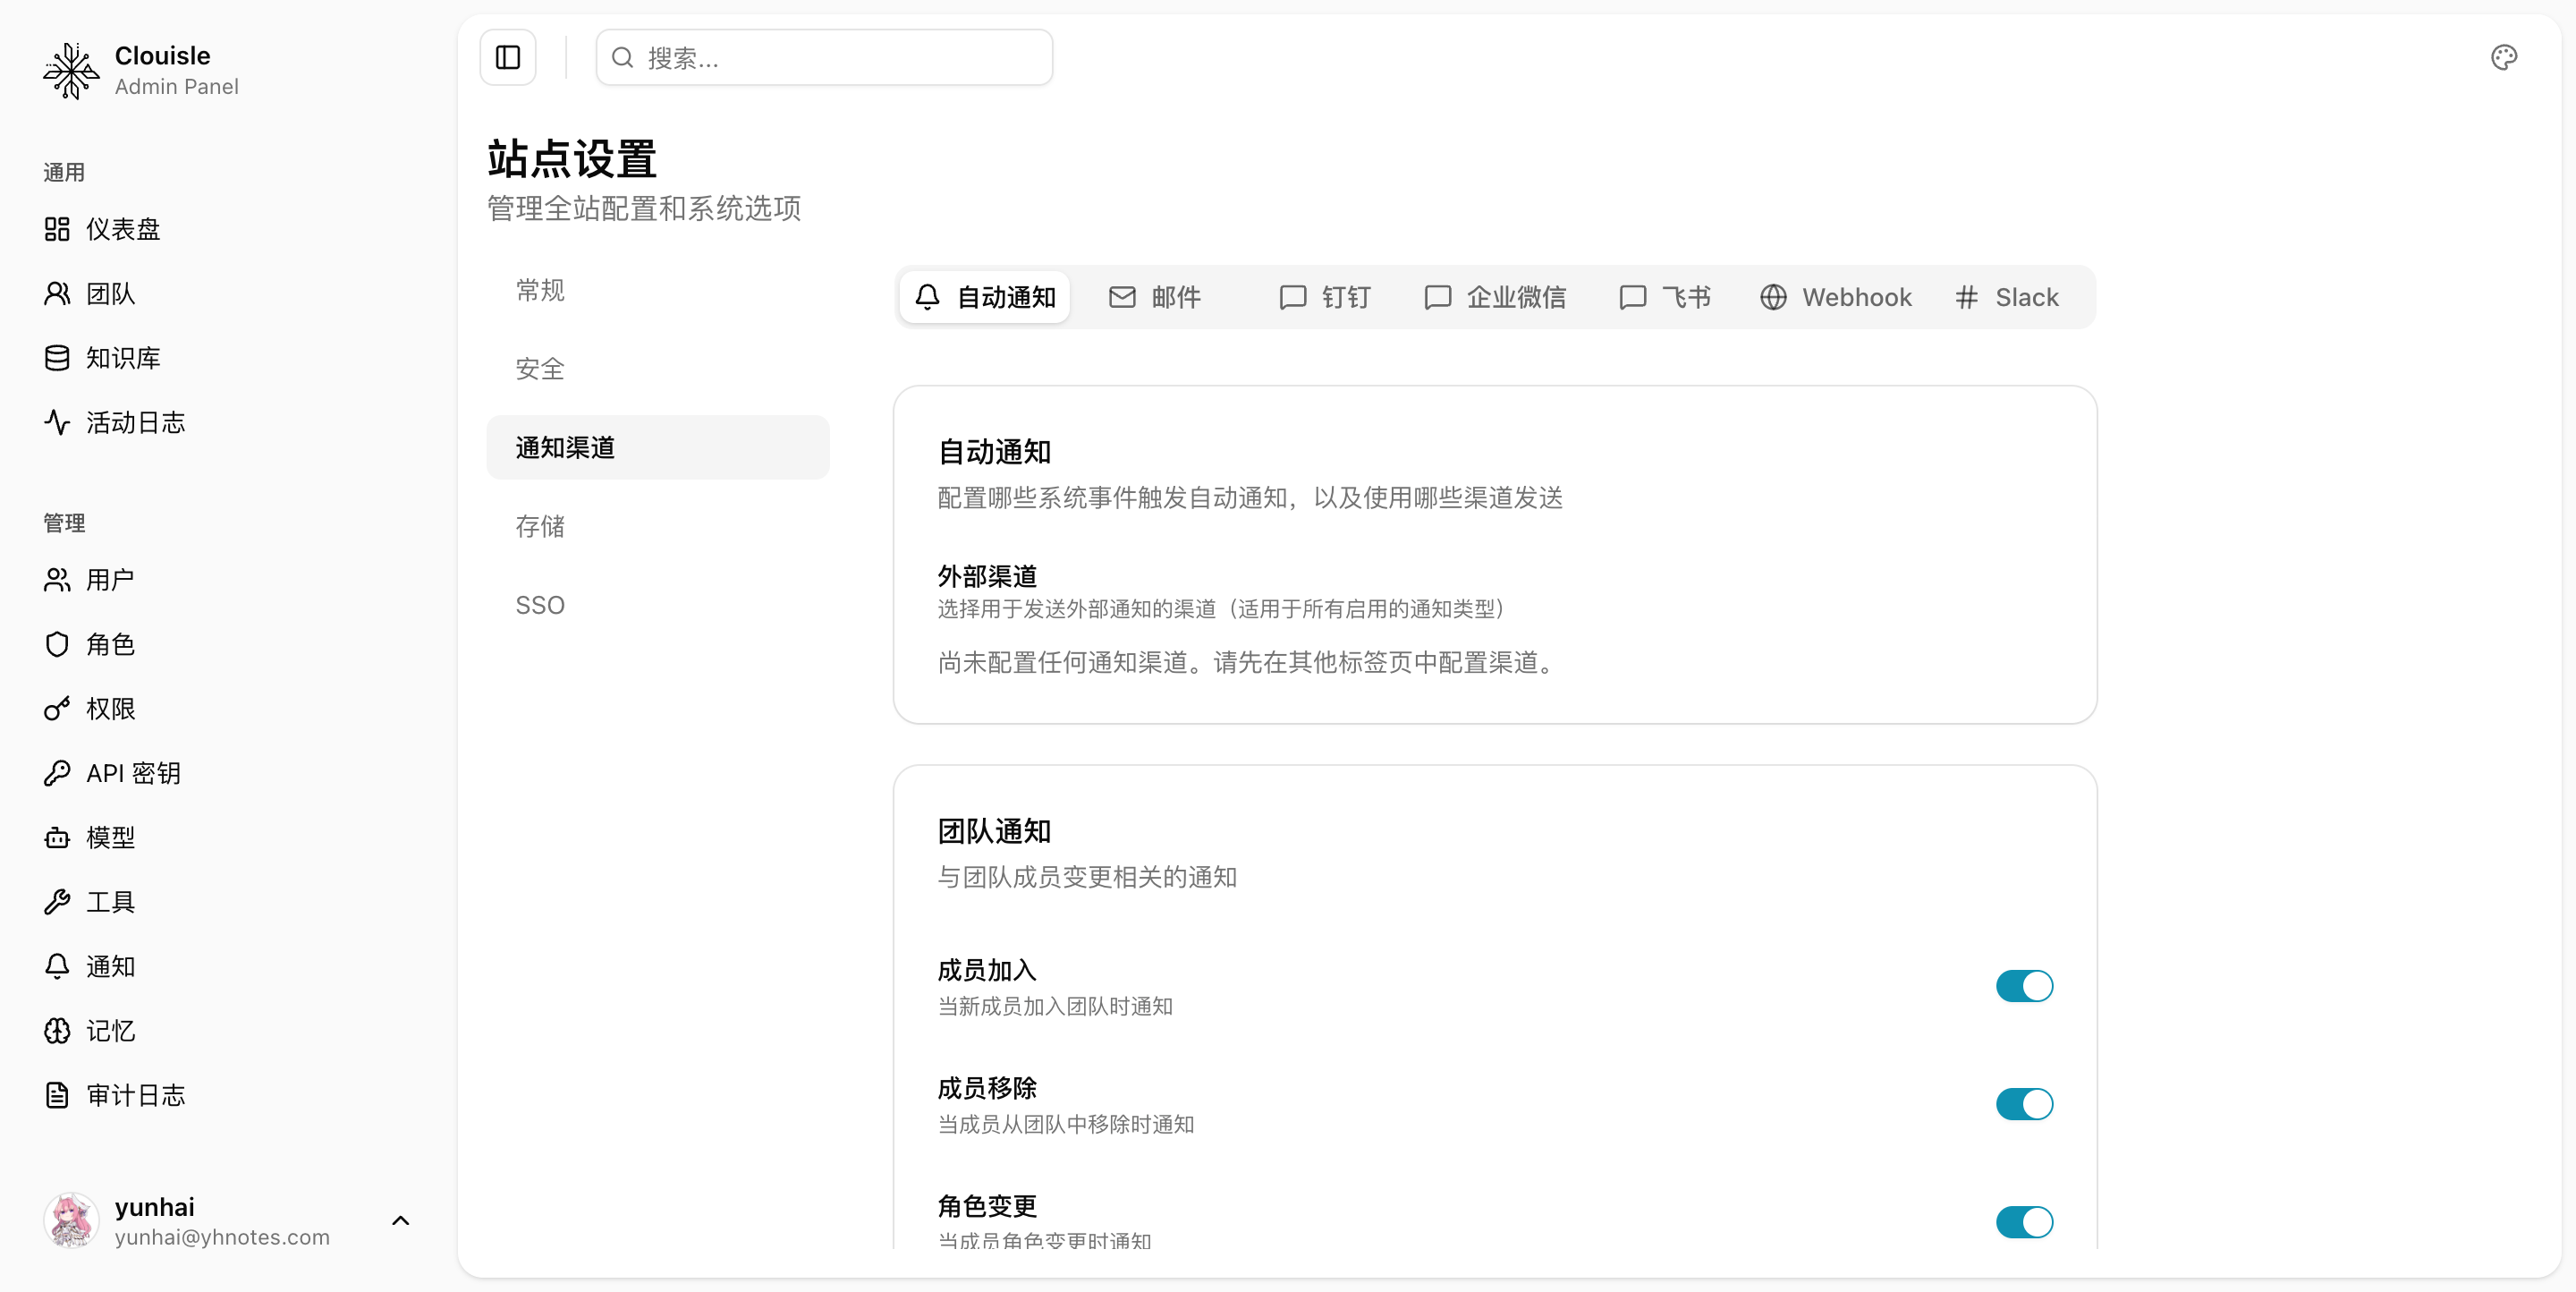
When configuring for the first time, we do not recommend connecting multiple channels at the same time. We recommend starting with the easiest one to validate, such as:
- Webhook
First get one primary path working, then consider adding Slack, Feishu, DingTalk, or WeCom.
Step 3: Fill in channel parameters and save
Different channels usually require:
- SMTP host, port, and sender
- Webhook URL
- Bot Token, signature, or additional request headers
When filling them in, we recommend recording at the same time:
- Who this channel is for
- Which events it is used for
- Who will maintain it later
Step 4: Execute a test send
After saving, do not launch directly. First use a test recipient to validate:
- Whether delivery succeeds
- Whether the content format is readable
- Whether authentication, signature, and network policies are normal
If the platform has a Notification Center, you can also check whether the test notification successfully entered the notification path.
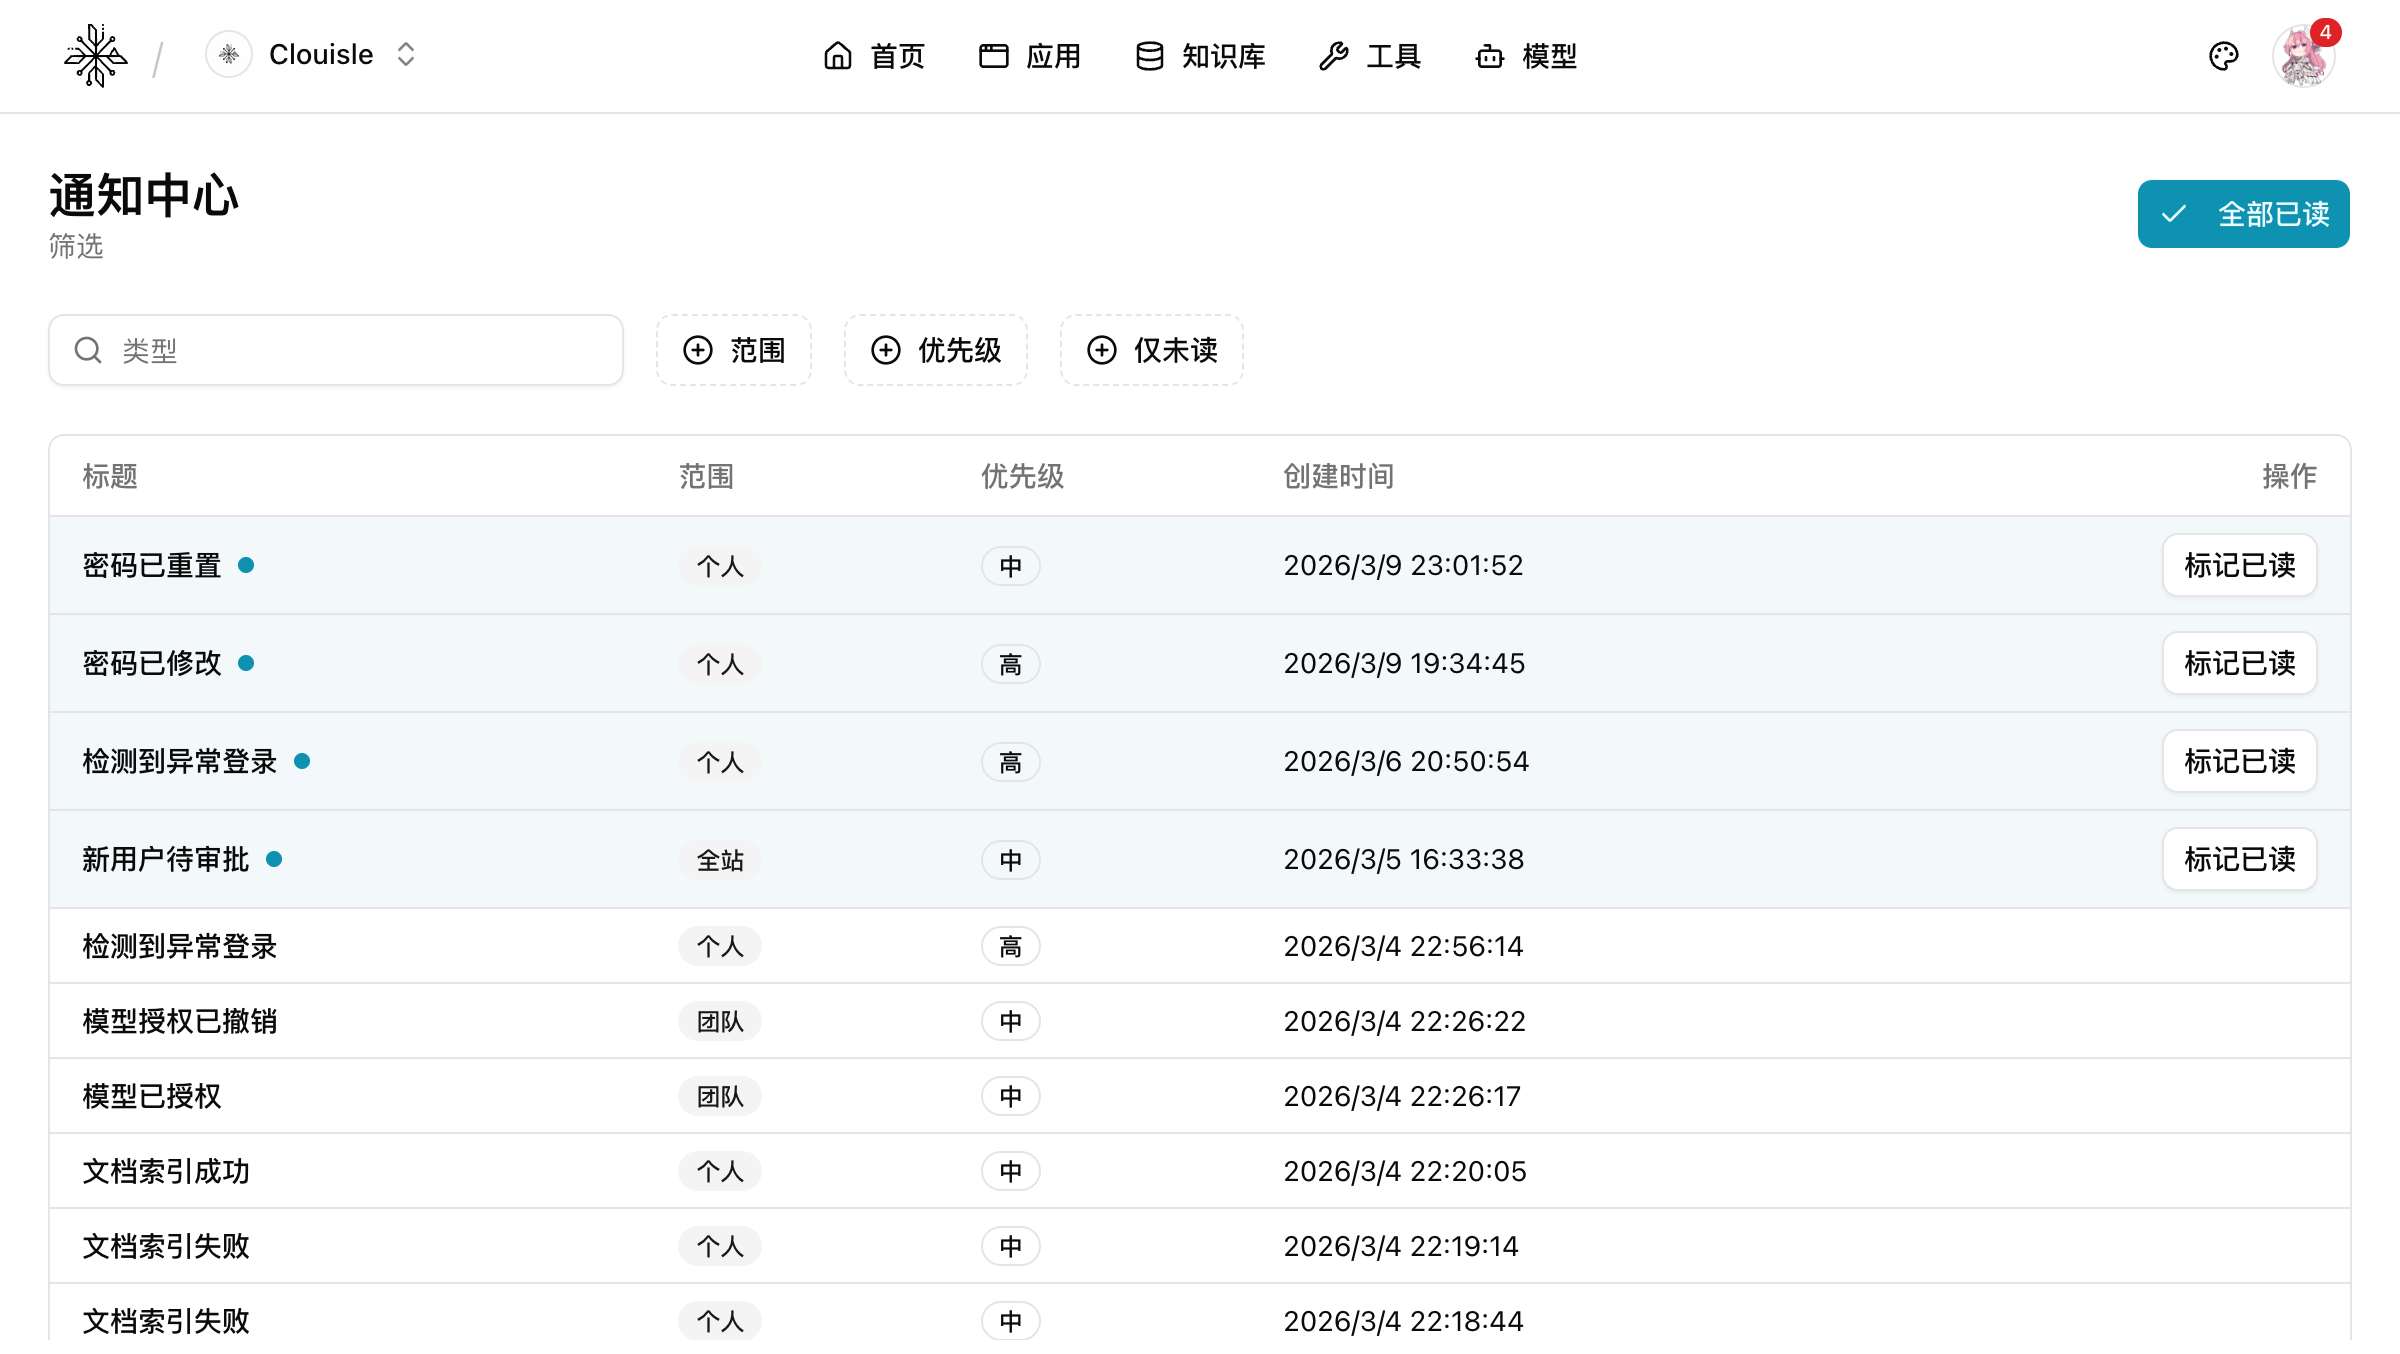
Step 5: Define usage rules before binding the channel to real events
After the test passes, clarify:
- Which events use this channel
- Which events only use in-platform notifications
- Which events need a backup channel
This helps avoid notification overload immediately after launch, or key alerts having no fallback.
Result Validation
After notification channel configuration is complete, it should at least satisfy:
- Test messages can be delivered successfully
- Clear error messages are visible when failures occur
- The path result can be seen in the Notification Center or sending status
FAQ
Why was saving successful, but no notification was actually received?
Check first:
- Whether the recipient address or group configuration is correct
- Whether Webhook, SMTP, or signature parameters are complete
- Whether the corresponding event was actually triggered
Why is it recommended to connect only one primary channel at first?
Because after connecting too many channels at once, issues become mixed with network, signature, recipient-side limits, and notification rules, making them hard to locate quickly.
Why can test sending not be skipped?
Notification is a cross-system path. Without test sending, you cannot confirm whether the part of the path outside the platform is actually working.
Notes
- All channels must be tested before being connected to real events
- Webhook and enterprise IM channels especially need attention to signature, timeout, and retry
- We recommend clearly defining primary and backup channels to avoid critical notifications having only a single outlet